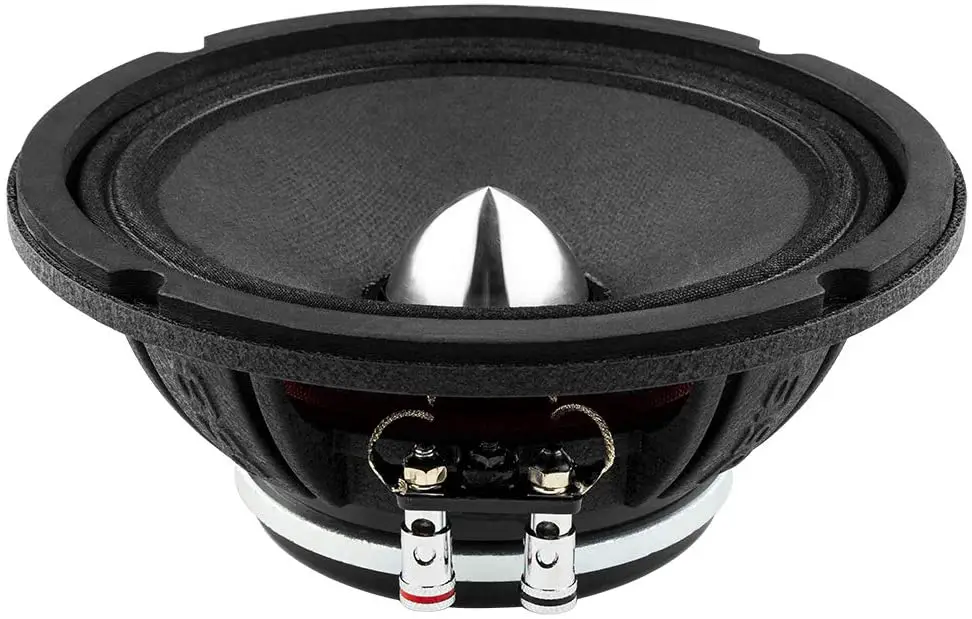
Are you considering building a custom amplifier that meets everything you want from a car audio amplifier? A car has a stereo system for music playback and FM radio.
However, audiophiles usually don’t find such stereo systems worthy because they can’t output the high-level sound they desire.
Thus, they tend to build a custom stereo system or a custom amplifier to improve the audio quality they get when driving.
How To build a car audio amplifier, you must read the necessary components and ensure they’re all compatible. Also, having a schematic to help you through would be best.
Customizing your car’s audio system can be pretty challenging, and it needs utmost care.
Many DIY videos and guides are online to help you customize your car audio system, but this article focuses on building a custom car audio amplifier.
Table of Contents
Car Audio Amplifiers Explained
Car audio amplifiers are just like the regular amplifiers, you know – just that they are built to be installed in vehicles.
The function is the same with every other type of amplifier, to boost the audio signals from your car stereo to power your connected speakers or car subwoofer system.
A car audio amplifier would power your car stereo to deliver better sound and deeper bass.
Well, stock car amplifiers work pretty well, but to some people, it can’t just serve – especially if they’re playing to add a separate subwoofer for bass output.
Actually, there are pretty many budget-friendly car audio amplifiers you can find on Amazon, eBay, and other stores.
But if you’re planning to create one by yourself, then we’ve provided a detailed guide you can follow below.
Should You Get a Car Audio Amplifier?
If you love good sound and bass, you should get an aftermarket car amp and some good car speakers too.
The truth is, while most new cars do come with decent, mind-blowing sound systems (car stereo), some older models come with poor stereo and speakers.
But, if you’re not satisfied with the sound you’re getting from your car stereo, one of the things you need to improve is a car amp.
That said, you can buy an aftermarket amplifier, fix it to your car stereo, get some required components, and build it yourself.
However, whether you’re going for an aftermarket option or building one yourself, you must take into consideration the following things:
- The configuration of your car stereo system
- Available spaces where you can fix the aftermarket speakers/subwoofer
- Make sure the parts you purchased are all compatible with each other
How to Build a Car Audio Amplifier
It all starts with sourcing the materials you need for the DIY.
There are two main ways to get the needed materials: buying them online or offline in electronic shops and scavenging various parts of your old, rickety appliances.
Getting the necessary components you need from your old appliances would save you a lot of money.
But then, there’s no guarantee that the components are compatible, and you can’t be too sure if they are still good/functional. Hence, purchasing a DIY amplifier kit is the best way to source your parts.
Mainly, DIY amp kits come with all the components you need to build your amplifier – the way you want.
More so, with such kits, you’re sure that all the components are compatible, making the coupling process much easier and painless.
Furthermore, building a custom amplifier includes soldering some stuff into a circuit board. With a DIY kit, the board is already settled; all significant parts to be soldered onto the board must have been done already.
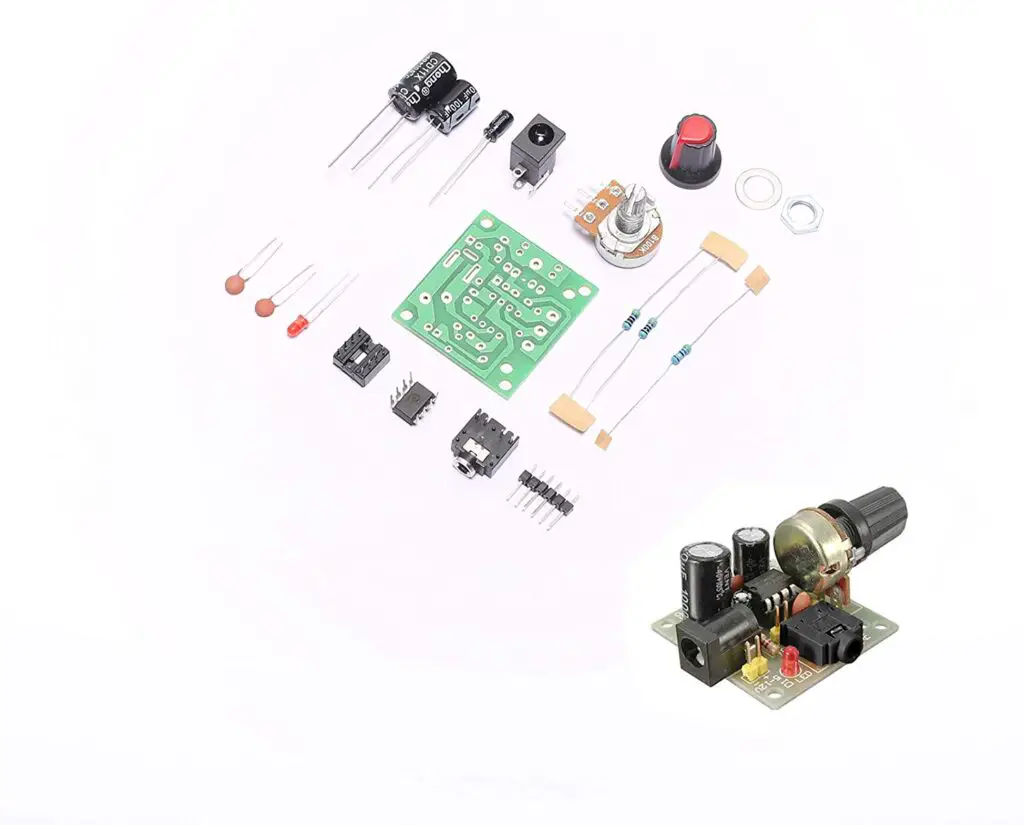
Again, this makes the job much more accessible than gathering the parts yourself. Below is a photo of what a DIY car amplifier kit looks like.
The kit should typically comprise the following:
- A PCB
- Dual/Quad Power Amplifier
- Heatsink
- Op Amp
- Basic Red
- Power Switch
- Resistors
- Capacitors
- Hex Nut
- A schematic
However, what would be included in the kit depends on the one you bought. Some kits may contain much more than the items above, while others may not come with all of that.
Gathering the components is the most challenging part of building a custom amplifier. Once you have it done, you’re good to go.
So, with the parts all ready, it’s time to start compiling and tightening the amplifier components.
#Pro Tip: You need a magnifier lens you’d use to check the resistors and capacitors to ensure they’re good.
The Process:
If you’re using a kit, ensure to read the schematic carefully; if you salvage your old components, you should be an audio expert then.
#Pro Tip: In the end, ensure you install the amplifier so it won’t overheat.
First Step:
The first step is to load the turret board following the instruction in the kit schematic you read. This includes installing resistors, capacitors, potentiometers, amp-chips, and fuses.
It would help if you started with the highest-value component of each type. The connectors will come out from the other side of the board, where you’d solder them onto the board.
Second Step:
Install the chassis-mount components, power and output transformers, then the RCA jacks. Use a 100-amp fuse IEC power-supply socket since the amplifier will use power from the car battery.
Third Step:
Mount the board and solder it into the chassis base. Then solder the chassis-mounted parts onto the circuit board.
Depending on the instruction in the schematic you’re following, you may need a wire to ground the terminals of each component on your board.
Note: use red wire for positive terminals and black for negative terminals.
What More?
You’re done; couple the amplifier and fit it into your car – into the respective space – then connect your stereo and speakers.
The DIY car amp kit’s manual explains the steps more clearly.


