Looking for how to make 3m tape stick better? Keep the surface clean and dry – that’s enough to do the magic.
In modern society, we use tapes for various functions, and in different places.
In the home, inside the car, in classrooms, and virtually everywhere – tapes are used to temporarily hold up samples, clues, sticky notes, specimens, and other stuff.
While there are many types of tapes, 3M tapes seem to be the preferred choice for most people.
Basically, tapes are built to stick very well and hold up whatever was taped. But then, there are some preps you could carry out on the surface or object to make the tape stick better (and never fall off).
3M tapes are made with strong adhesives; so they can hold up virtually anything.
Notwithstanding, 3M produces different types of tapes for different purposes. For example, there are clear double-sided 3M tapes, and there are heavy-duty 3M tapes; each is designed for specific purposes.
Table of Contents
How To Make 3m Tape Stick Better
The use of tapes is preferred in applications where aesthetics are important.
When you use tacks and screws to hold up stuff, it dents the appearance of the surface; but when tapes are used, the aesthetics of the surface is maintained and your object/item/stuff would still be held in place, perfectly.

However, one common problem with using tapes is that most of them don’t hold up for too long. When the surface gets heated up, the adhesive used in the tapes may become weak and unable to keep holding up what was taped.
But then, these preps can help to make your 3M tapes stick better, and probably never fall off until you personally remove them from the surface.
1. Get the Right 3M Tape For The Job
If you’re sticking a paper, virtually any type can be used for the job.
But when you’re going to stick an object (maybe a toy you need to stick on the board to teach little kids about the animal/object), you need a tap with stronger adhesive.
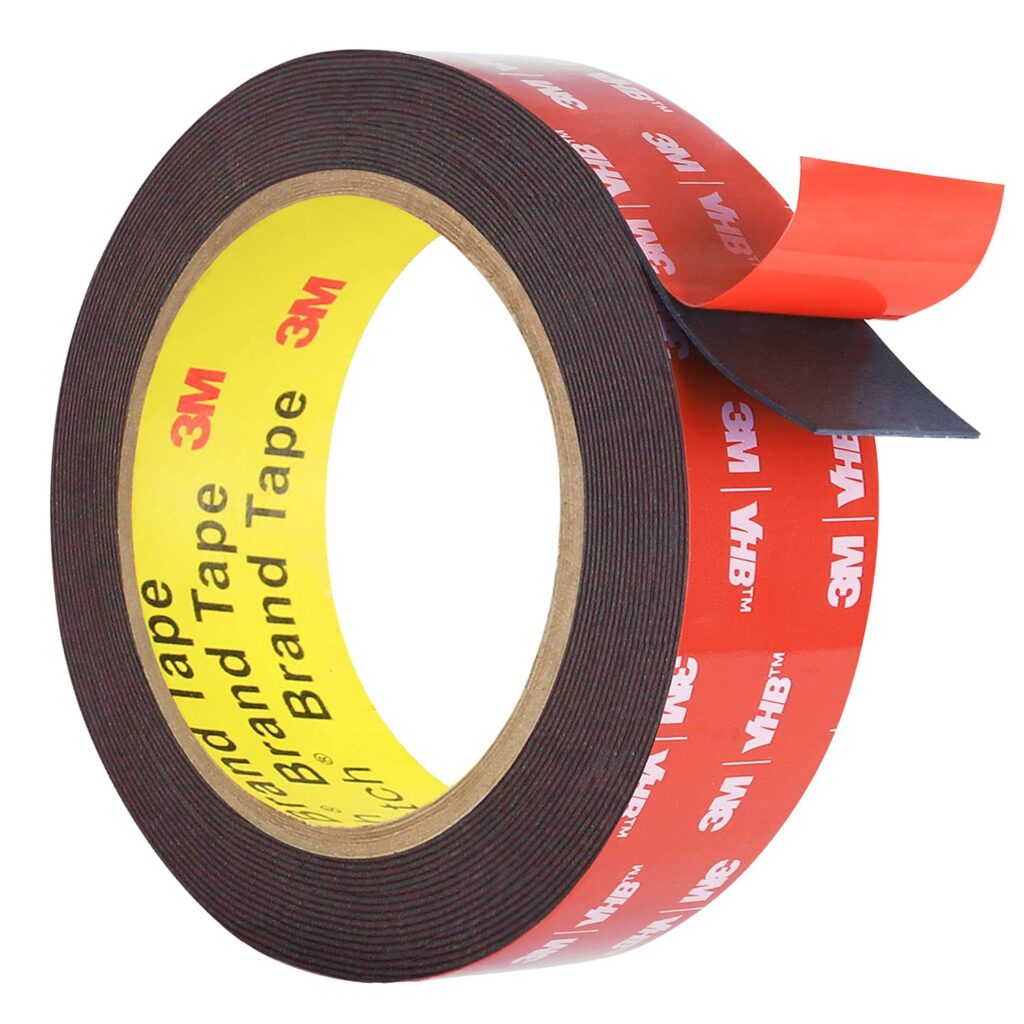
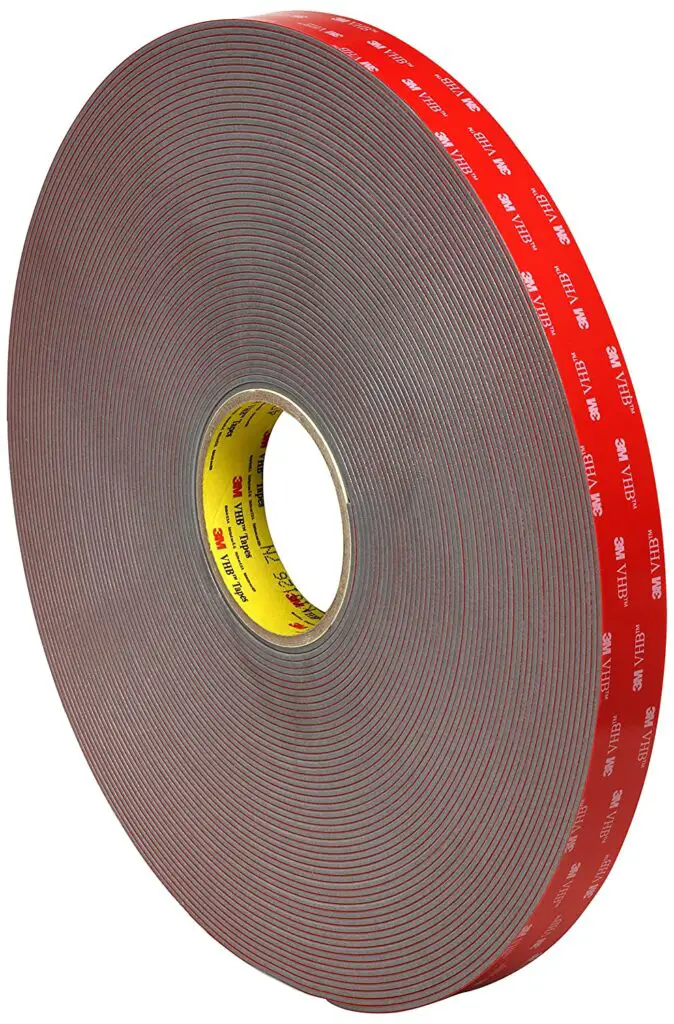
The 3M VHB Heavy Duty Tape is one of the best, versatile 3M tapes for all kinds of jobs. See our Guide for Best Headphones For Classical Music In 2022.
2. Clean and Prepare The Surface
This is where the major job lies. If the surface is contaminated, the tap would yet stick; but it won’t stick directly on the material/board/surface, it’d stick on the containment that sits on the supposed surface.
Hence, the tape may easily fall off at some point when the containment weakens.
To make sure the surface is very clean (without any containment), you can use rubbing alcohol, a 3M Citrus Base Cleaner (if the surface is oily), or any other effective cleaning agent you trust to be effective.
If the surface is plastic or painted, you could apply a little abrasion using hand pads.
Note: Tapes won’t stick for long on dirty, porous, and extremely rough surfaces. So, if you’re applying abrasion, you have to do that cautiously.
Our How To Use Apple Earbuds On PC guide will help you with any Apple Earbuds bugs you might have.
3. Avoid Certain Surfaces
There are surfaces that, regardless of how you prep them, they’d stick not let your tap stick for a long time. That’s because such surfaces are “hydrophilic,” which means that they retain heat, and are water-loving.
Also, surfaces that allow oxidation are not suitable for applying tapes onto; but if you must apply tape on such surfaces, you need to add a sealer material that would help to increase adhesiveness.
Hereunder are the surfaces that fall under the categories highlighted above:
- Glass
- Stone
- Ceramic
- Copper
- Brass
- Bronze
4. Ensure The Surface Is Dry
Most tapes won’t stick well on wet or slippery surfaces; you must have to ensure that the surface is dry before applying the tape.
This mostly applies if you used a degreaser or cleaning agent to clean the surface; allow the surface to dry before proceeding to apply the tape.
5. Apply The Tape With Sufficient Pressure
When applying the tape to the surface, apply enough pressure so that the tape would perfectly blend with the surface. The greater the adhesive-to-surface contact, the stronger the bond.
If you can, get a roller and roll it over the tape to ensure that it actually bonds with the surface, and that’s it! Your tape would stick for as long as you need it to stick.
6. Allow it to Rest
After applying the tape, you need to let it sit there to bond perfectly. Don’t quickly try to check if the tape bonded perfectly; thus, attempting to pull it up.
It takes a couple of minutes for the adhesive in tapes to perfectly bond to the surface they are applied to.
At standard room temperature, it’d take around 20 minutes for your 3M tape to achieve 50% maximum bond and 72 hours to achieve 100% bond.
So, you just have to leave it there after you have applied the tape accordingly (following the guide in this article).
Best 3m Tape To Buy Now.
- SANKA 3M Heavy Duty Mounting Tape
- 3M Super Strength Molding Tape
- Bullshark Bond Black Water Resistant Heavy Duty Tape
- HitLights Mounting Tape Heavy Duty
Anything Else?
There’s definitely nothing else to talk about.
To make 3M tapes stick better, you need to prepare the surface; remove the contaminants, cut out oil, leave the surface to dry, and then apply your tape with enough pressure to make it bond directly with the actual surface.
If these prep steps are followed accordingly. You would have nothing to worry about.
However, the very first step is to get the best suitable tape for the type of job you want – and for the type of surface you want to apply the tape to.
More so, it is okay to add other materials that could help to improve adhesiveness.
If you tried the preps in this article, and yet your 3M tape won’t stick well, check the adhesiveness of tape by touching the surface to see if it’d bond with your palm.


